Lived-in smoky eye makeup: your guide to perfection
Anúncios
The lived-in smoky eye is created by blending soft, warm shades that add depth while keeping the finish relaxed. Quality brushes, a smooth primer, and proper setting techniques help the makeup remain polished throughout the day.
This style combines elegance with a slightly undone effect, making it suitable for both casual moments and more sophisticated occasions. Its softened edges create definition without appearing overly dramatic.
With the right products and a few simple techniques, achieving this effortless look becomes much easier. The following steps will help you build, blend, and maintain a balanced lived-in smoky eye.
Understanding the lived-in smoky eye look
Understanding the lived-in smoky eye is the first step toward mastering this modern makeup style. The technique creates soft definition, enhances the eyes, and adds depth without looking overly polished.
The key lies in balancing intensity with subtlety. Darker shades provide structure, while careful blending keeps the overall effect relaxed and wearable.
Unlike a sharply defined smoky eye, this version embraces softened edges and a slightly undone finish. The result feels effortlessly chic and works well for both everyday makeup and evening looks.
Key Characteristics

- The eyeliner is less precise, creating a smudged effect.
- Colors are blended seamlessly for a gradient look.
- Shadows are used to create depth without harsh lines.
- The overall vibe is relaxed yet stylish.
To achieve this look, remember that less is more. Start with a light hand, gradually building up the intensity. The key is to create that effortlessly beautiful look without overdoing it. You can mix different colors and textures to find what complements your individual style.
Also, consider the occasion when you apply this style. The lived-in smoky eye can work for everyday wear or special events. It transitions nicely from day to night while still allowing you to express your personality.
Practice is vital. The more you work with blending techniques, the easier it will become. Don’t hesitate to experiment with different shades and placements. Finding the right combination will help you achieve that coveted smoky eye look with a lived-in charm.
Essential tools for your makeup kit
Having the right tools is essential for creating a polished lived-in smoky eye. The brushes and applicators you use can directly affect precision, blending, and overall control.
A flat shader brush helps place color, while a fluffy blending brush softens the edges. A pencil brush is useful for adding detail along the lash lines and outer corners.
Choosing soft, well-shaped tools makes application easier and helps prevent harsh transitions. With the proper essentials, the smoky effect becomes smoother, more balanced, and easier to achieve.
Makeup Brushes
Investing in quality makeup brushes can elevate your makeup game. A few essential brushes include:
- Blending brush: This helps to create smooth transitions between colors.
- Flat shader brush: Perfect for applying eyeshadow on the lid.
- Pencil brush: Ideal for precisely applying color to the lower lash line.
These brushes allow you to blend and define your eyes beautifully, achieving that desired smoky effect.
Eyeshadow Palette
Your eyeshadow palette should include versatile shades, particularly neutrals and dark tones. Look for palettes with
- Matte shades: Great for adding depth.
- Shimmer shades: Perfect for highlighting.
- Transition shades: Essential for blending.
These options give you the flexibility to create a range of looks, from soft and subtle to bold and dramatic.
Another important tool is the eyeliner. A creamy eyeliner pencil can provide that smoky effect when applied to the lash line and smudged slightly. Additionally, a good mascara is necessary to make your eyes pop and complete the look.
Lastly, don’t forget about makeup remover or micellar water. It’s essential for easy clean-up and ensuring that you can practice your lived-in smoky eye until you perfect it!
Step-by-step application tutorial
Creating a striking lived-in smoky eye is easier when the process is divided into a few simple steps. The goal is to build depth while keeping the finish soft and effortless.
Using the right brushes, applying color gradually, and blending carefully can make the technique more manageable. Each layer should enhance the look without creating harsh lines.
With practice, you can adapt the smoky effect to different colors, occasions, and levels of intensity. This tutorial will guide you through the process while keeping the experience creative and enjoyable.
Step 1: Prime Your Eyes
Begin by applying a quality eyeshadow primer across the eyelids. This creates a smoother base and helps the makeup adhere more effectively.
Primer can also improve color intensity while reducing creasing and fading throughout the day. Use a thin, even layer to avoid unnecessary product buildup.
Allow the primer to set briefly before adding eyeshadow. A well-prepared base makes blending easier and contributes to a cleaner, longer-lasting finish.
Step 2: Apply Base Color
Choose a neutral eyeshadow that closely matches your skin tone. This base shade helps even out the eyelid and creates a smoother surface for the darker colors.
Using a flat shader brush, apply the product across the entire eyelid and blend it gently toward the brow bone. Keep the layer light and even to avoid excess buildup.
This step prepares the eyes for the smoky effect and makes the following shades easier to blend. It also helps create softer transitions and a more polished finish.
Step 3: Add Depth
Choose a deeper shade, such as rich brown, charcoal, or soft gray, to add definition. Apply it to the outer corner of the eye using a clean blending brush.
Extend the color gently into the crease, concentrating most of the pigment on the outer area. This creates depth while keeping the center of the eyelid lighter.
Blend with small circular and back-and-forth motions until the edges appear soft. A gradual transition between shades is essential for a seamless smoky finish.
Step 4: Smudge and Blend
Using a pencil brush, apply the same dark eyeshadow along the lower lash line. Keep the color close to the lashes to maintain definition without making the makeup look too heavy.
Gently smudge the shadow with short, controlled motions to create the soft, lived-in effect. Blending the edges prevents harsh lines and connects the lower lash line with the upper makeup.
For additional intensity, build the shade gradually in thin layers. This approach gives you greater control and makes it easier to achieve a balanced, smoky finish.
Step 5: Highlight
Choose a lighter or shimmering eyeshadow to add brightness and dimension to the look. Apply it gently to the center of the eyelid, where it will catch the light.
Place a small amount in the inner corners of the eyes as well. This technique helps create a more awake, open, and refreshed appearance.
Blend the edges softly into the surrounding shades to avoid harsh lines. A controlled application keeps the smoky effect balanced without adding excessive shine.
Step 6: Eyeliner and Mascara
Use a creamy eyeliner pencil along the upper lash line to add definition. Gently smudge the line with a small brush or fingertip to create a softer, more relaxed effect.
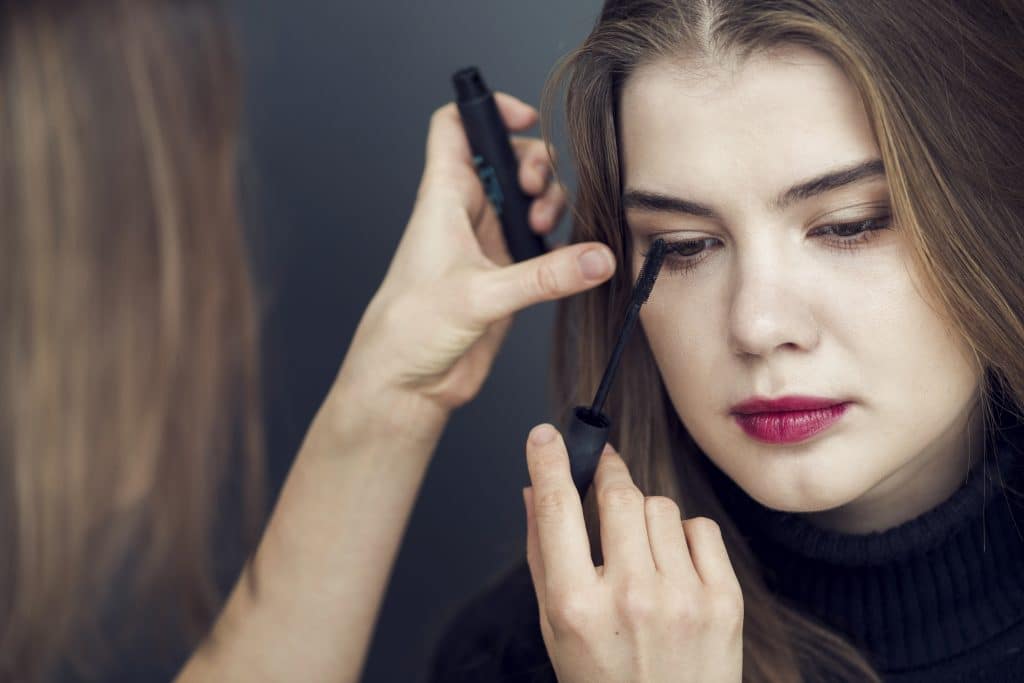
Complete the eye makeup with your favorite mascara, focusing on the roots and outer lashes. This helps create the appearance of greater length, volume, and intensity.
Once finished, take a moment to evaluate the result and make any final adjustments. The lived-in smoky eye works well for both daytime and evening looks, becoming easier to master with practice.
Tips for blending and achieving depth
Blending is one of the most important techniques for creating a polished lived-in smoky eye. It softens harsh edges and gives the makeup a more natural, effortless appearance.
Proper blending also adds dimension by allowing different shades to transition smoothly across the eyelid. This creates depth without making the look appear overly precise or heavy.
Using the right brushes, applying color gradually, and working with gentle motions can make a noticeable difference. These simple techniques help produce a seamless, professional-looking finish.
Use the Right Brushes
Your choice of brushes can make a big difference. A good blending brush should have soft bristles that allow for a smooth application. Try using:
- Fluffy blending brush: Great for diffusing color.
- Small tapered brush: Ideal for precise blending in the crease.
These brushes help create a gradient effect where colors transition smoothly from one to another.
Patience is Key
Take your time when blending to create a smooth, natural-looking finish. Begin with a small amount of product and gradually increase the color intensity.
Applying too much eyeshadow at once can create harsh patches and make the edges harder to soften. Building the shade in thin layers gives you greater control over the final result.
Use a clean, fluffy brush and gentle circular motions to diffuse the color. Blend patiently until there are no visible lines between the different shades.
Layering Colors
Layering different shades adds depth to your look. Begin with a light base color, and then slowly add darker shades. Each layer should be blended out before applying the next. This method ensures that the colors mix well without looking harsh.
Another tip is to use a clean brush between blending steps. This helps to avoid transferring dark colors back onto lighter ones, maintaining a clean, polished look. Don’t be afraid to go back and forth with colors until you achieve the desired depth.
Finally, if you ever feel like your shades aren’t blending well, simply add a touch of your base color over the area and blend again. This can help soften edges and make your smoky eye more cohesive.
Choosing the right colors for your eyes
Choosing the right shades is essential for creating a striking lived-in smoky eye. The colors you select can enhance your natural eye color and make the entire look feel more balanced.
Different eye colors tend to stand out with specific tones, from warm metallics to rich jewel shades. The key is choosing colors that create contrast without overpowering the eyes.
Soft blending helps maintain the relaxed, slightly undone effect that defines this makeup style. With the right palette, your eyes can appear brighter, deeper, and more expressive.
Consider Your Eye Color
For blue eyes, warm shades such as bronze, copper, and peach create a flattering contrast. These tones help intensify the natural blue without making the makeup appear too heavy.
Green eyes are often enhanced by rich purples, soft mauves, and golden hues. These colors highlight their brightness and can make the eye color look more vivid.
Choosing shades that contrast gently with your natural eye color can make the entire look feel more balanced. Blending them softly keeps the result elegant and wearable.
Neutral Shades
When you want to keep it simple, neutral shades are a fantastic choice. Shades like taupe, beige, and soft browns are versatile and can work on any eye color. They provide depth without being too bold.
- Neutral colors: Blend easily and work for any occasion.
- Warm tones: Brighten blue and green eyes.
- Cool tones: Enhance brown and hazel eyes.
For brown eyes, almost any color will look great! Try using earthy tones, such as bronze and greens, to create a beautiful effect. Meanwhile, hazel eyes can play with both warm and cool tones, making them incredibly versatile.
No matter your eye color, consider how light and dark shades play together. Use a light shade on the lid and darker shades in the crease to add dimension to your look.
Also, don’t hesitate to mix shades within the same color family for a more dynamic effect. This can help you create a customized look that feels uniquely yours.
Maintaining your look throughout the day
Maintaining a lived-in smoky eye throughout the day requires a few practical techniques. Proper preparation and lightweight layering can help the makeup stay defined without losing its soft, blended effect.
Using primer, long-wearing products, and a small amount of setting powder can reduce creasing and smudging. These steps also help preserve the color while keeping the finish natural.
For quick touch-ups, carry a blending brush, cotton swabs, and your main eyeshadow shade. Small adjustments can refresh the look without having to reapply the entire makeup.
Use a Primer
Applying an eyeshadow primer is an effective way to improve makeup longevity. It creates a smoother base and helps the color adhere more evenly to the eyelids.
A quality primer can also reduce creasing, fading, and product buildup throughout the day. This keeps the eyeshadow looking more vibrant and polished for longer.
Spread a thin, even layer over each eyelid before applying your makeup. Allow it to set briefly so the shadow blends smoothly and stays in place.
Setting Your Eye Makeup
After completing your makeup, apply a setting spray to help keep everything in place. This final step creates a light protective layer over the products.
The spray can reduce fading, smudging, and unwanted movement throughout the day. It also helps the makeup look more polished and consistent for longer.
Hold the bottle at a comfortable distance and apply a few even spritzes across the face. Allow it to dry naturally without touching the skin.
Carrying Touch-Up Products

Keep a few touch-up products handy for the day. A small compact of powder can help reduce shine on your eyelids, while a travel-size eyeliner and mascara can refresh your look if it begins to fade. Here are a few tips:
- Travel-size eyeliner: Perfect for quick touch-ups.
- Clear mascara: Helps maintain your look and adds definition.
- Small eyeshadow palette: Carry your favorite colors to refresh as needed.
Additionally, be mindful of the activities you engage in. Avoid rubbing your eyes and try to do skin care rituals at least a few hours after applying makeup. If you’re planning to be out all day, consider using waterproof products to resist smudging.
Finally, reapply your eyeshadow if necessary. Sometimes, a little bit of added color can bring back the life in your lived-in smoky eye. Just remember to blend everything well to keep that soft, natural look.
Conclusion
In conclusion, achieving a beautiful lived-in smoky eye makeup look is all about the right techniques and products.
By using quality tools, understanding your eye colors, and following a step-by-step application process, you can master this style easily. Don’t forget to blend well and maintain your look throughout the day with touch-ups.
With practice, anyone can create this stunning look, adding a bit of elegance and flair to their makeup routine. Get ready to turn heads!
FAQ – Questions About Lived-in Smoky Eye Makeup
What is the best way to choose colors for my smoky eye?
Choose shades that complement your eye color. For example, warm tones work well with blue eyes, while purples enhance green eyes.
How can I prevent my smoky eye makeup from creasing?
Using an eyeshadow primer helps keep your makeup in place and prevents creasing throughout the day.
What tools do I need for a perfect smoky eye?
You’ll need quality brushes, an eyeshadow palette with various shades, and a good eyeliner for blending.
How can I maintain my smoky eye look during the day?
Carry touch-up products like a small compact of powder, lipstick, and eyeliner to refresh your look as needed.