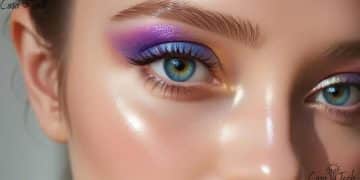
Fever flush blush makeup: the secret to radiant skin
Anúncios
Fever flush blush makeup creates a soft, diffused flush using carefully placed color, gradual layering and thorough blending.
Choosing a flattering shade, matching the formula to the desired finish and setting the makeup appropriately can help create a balanced and longer-lasting result.
Fever flush blush makeup is a blush technique designed to create a noticeable but softly blended wash of color across the cheeks, giving the complexion a fresh and intentionally flushed appearance.
The look can range from subtle pink or peach tones to more dramatic berry and red shades, depending on skin tone, makeup style and the intensity of the finished look.
Achieving the effect is less about following one fixed placement rule and more about controlling pigment, blending the edges carefully and adapting the color to the individual’s features.
Understanding Fever Flush Blush Makeup
Fever flush blush makeup focuses on creating a diffused flush that appears more expansive than traditional blush placed only on the outer cheekbones.
The color may extend across the apples of the cheeks and slightly toward the center or upper cheek area, depending on the face shape and desired intensity.
The final result should still look deliberate and blended, avoiding harsh circles of color or an overly concentrated patch that overwhelms the rest of the makeup.
Different Types of Blush
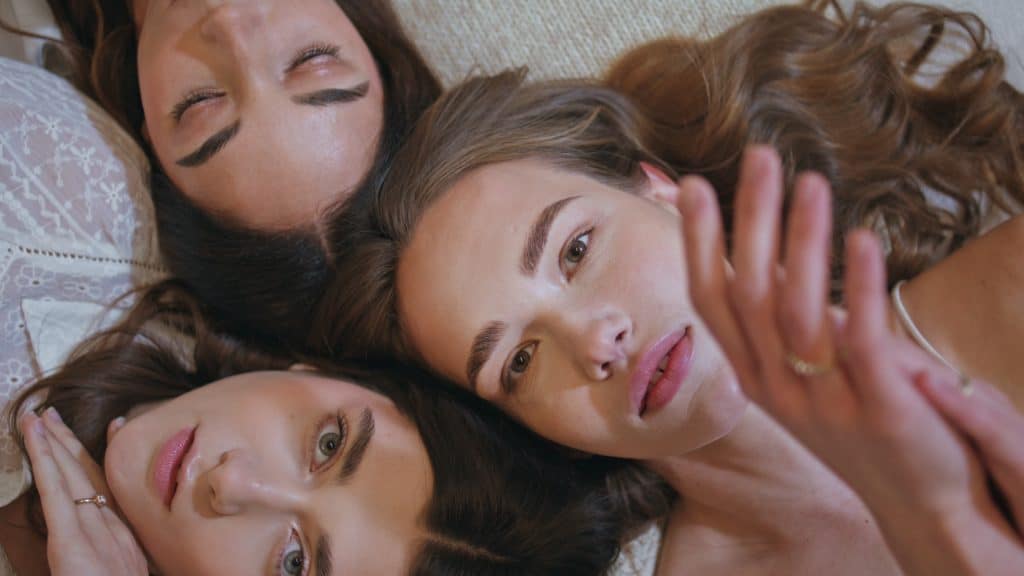
Powder, cream and liquid blush can all work for a fever flush effect, with the best choice depending on the finish, pigmentation and layering style the wearer prefers.
Powder formulas are often easy to diffuse with a brush, while creams and liquids can create a more skin-like or dewy finish when applied in thin layers.
Skin type can influence product preference, but no formula is universally reserved for oily or dry skin because preparation, formulation and personal comfort also matter.
- Powder blush: Easy to diffuse and useful for soft, controlled layering.
- Cream blush: Can create a fresh, blended finish with a more emollient texture.
- Liquid blush: Often highly pigmented and best applied gradually in small amounts.
Placement Changes the Final Effect
Blush placed toward the center of the cheeks creates a different visual effect from color concentrated high on the cheekbones or swept toward the temples.
For a fever flush look, color can begin around the natural cheek area and diffuse outward without creating a sharp line between blush and surrounding makeup.
Rather than smiling throughout application, it can be useful to check placement with the face relaxed so the blush remains in the intended position once the expression changes.
Choosing the Right Blush Shade
The right blush shade depends on natural complexion, undertone, desired contrast and the rest of the makeup rather than one universal color chart.
Peach, coral, pink, rose, mauve, berry and red-based shades can all create a convincing flushed effect when their depth and saturation suit the wearer.
The most useful test is how the blush appears on the cheek in normal lighting because the face can differ considerably in tone from the wrist or hand.
Use Undertone as a Starting Point
Warm complexions often pair easily with peach, coral and warm rose shades, while cooler complexions may suit pink, berry, mauve or blue-red tones.
Neutral undertones can often wear colors from both groups, making intensity and overall makeup harmony more important than strict temperature rules.
These categories are useful starting points rather than restrictions, and a contrasting blush can sometimes create a more interesting effect than a perfectly matched one.
Consider Depth as Well as Undertone
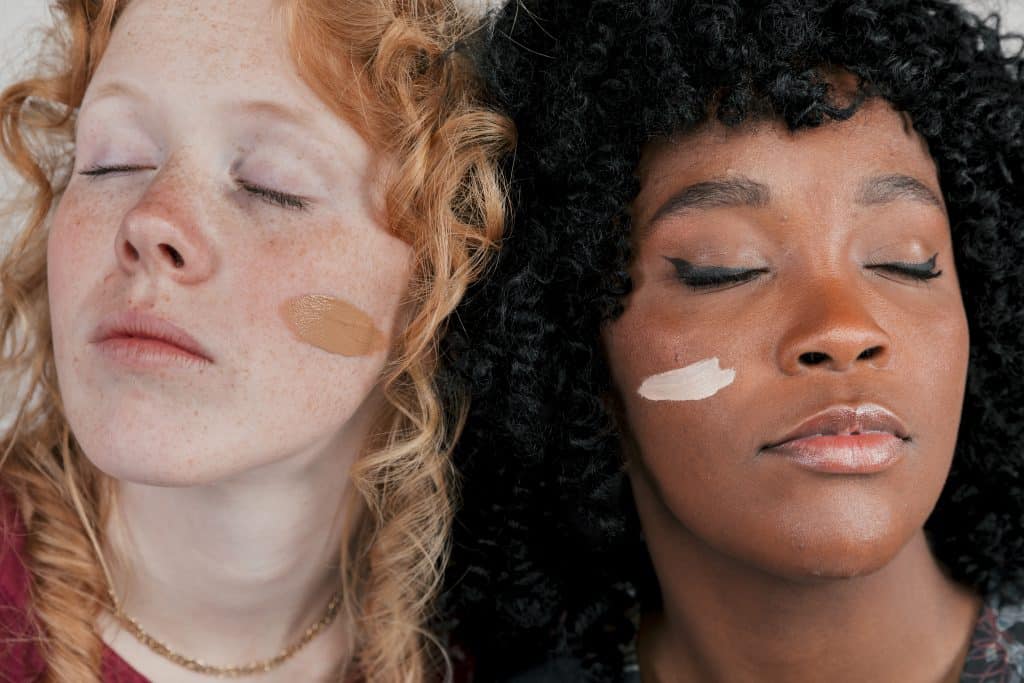
Lighter complexions may achieve visible color with softer or less saturated shades, while deeper complexions often benefit from richer pigmentation that remains visible after blending.
Medium and tan skin tones can work with a broad range of roses, corals, warm pinks and berries depending on how subtle or dramatic the finished flush should appear.
The goal is to select enough depth for the blush to remain visible without assuming that any particular skin tone must stay within a narrow group of colors.
- Light complexions: Soft pink, peach and light rose can create a subtle flush.
- Medium complexions: Rose, coral and richer pinks can provide balanced definition.
- Deep complexions: Berry, plum, red and saturated orange tones can remain vibrant after blending.
Finish Also Changes How the Color Appears
A matte blush emphasizes pigment without added shine, making it useful when the focus should remain on the color itself.
Satin and luminous formulas reflect more light and can make the cheeks appear softer or more dimensional without requiring a separate highlighter.
Highly reflective blushes should be applied carefully when texture is a concern because shimmer can emphasize areas the wearer would rather keep visually subtle.
How to Apply Fever Flush Blush Step by Step
A convincing flushed effect usually comes from gradual application rather than placing a large amount of pigment on the cheeks at once.
Prepare the base according to the desired finish, then apply blush after complexion products have settled enough to avoid dragging foundation during blending.
Keep the first layer lighter than the intended final result because additional pigment is much easier to add than excessive blush is to remove.
Start With a Small Amount of Product
For powder blush, load the brush lightly and remove excess before touching the face, especially when working with highly pigmented formulas.
For cream or liquid formulas, one small dot can be enough to begin, depending on concentration, and the product can be spread with fingers, a sponge or a suitable brush.
Building two or three thin layers generally gives more control over intensity and edges than attempting to achieve the full flush with one application.
Blend the Color Beyond One Small Area
Place the blush where natural facial redness is most flattering and diffuse the pigment outward so the edges disappear gradually into the complexion.
Small tapping or sweeping movements can work better than vigorous circular rubbing when cream products are layered over foundation, because excessive friction may disturb the base.
For powder formulas, light circular or sweeping motions can soften the edges effectively as long as the brush does not deposit additional pigment unintentionally.
Check the Result With the Face Relaxed
Facial features shift when smiling, so blush placed entirely while the cheeks are raised can appear lower than expected when the face returns to a neutral position.
After blending, look straight ahead with a relaxed expression and compare both sides to make sure the color sits where intended.
Checking the makeup in daylight or neutral lighting can also reveal uneven pigment or harsh edges that may not be obvious under warm indoor lights.
Products That Can Support a Radiant Blush Look
A fever flush effect can be created with blush alone, but complexion preparation and carefully placed luminosity can influence how fresh or polished the final result appears.
Moisturizer, primer, foundation and highlighter should be selected according to the desired finish rather than assuming that every glowing look requires multiple luminous products.
Using too many reflective layers can make the complexion appear overly shiny, so balance is usually more effective than maximizing glow in every step.
Highlighter Is Optional
Highlighter can be applied to areas such as the upper cheekbones when additional dimension is desired, but it is not necessary for a successful flushed makeup look.
Cream and liquid highlighters can blend easily with dewy complexion products, while powders can provide more targeted reflection over a set base.
Keeping highlighter slightly separate from the most intense blush area can help preserve color definition while still adding luminosity.
Foundation Finish Can Change the Blush Effect
A natural or radiant foundation can support a softer, skin-like blush effect, while matte complexion products can create stronger contrast against luminous blush.
Neither finish is inherently better because the choice depends on skin preference, environment and the overall style of the makeup.
If the base is heavily powdered, cream blush may need more careful application to avoid disturbing the surface, while powder blush generally layers easily over a set foundation.
How to Make Blush Last Longer
Blush longevity depends on formula, skin preparation, weather, oil production and the products layered underneath and above it.
Long-wear formulas can help, but technique also matters because very thick layers may separate or fade unevenly rather than lasting better.
The most reliable approach is to use compatible products in thin layers and choose a setting method suited to the desired finish.
Layer Cream and Powder for Additional Wear
A cream or liquid blush can provide the first layer of color, followed by a light powder blush in a similar shade once the base has settled.
This technique combines two textures and can improve visible color retention, particularly when makeup needs to remain intact for an extended period.
The powder layer should remain light enough to preserve dimension instead of covering the cream completely and creating a heavy or dry-looking finish.
Setting Spray Can Help the Finished Makeup Wear More Evenly
A setting spray can help different makeup layers settle together and may improve wear depending on the formulation and the rest of the products used.
It should not be presented as a guarantee that blush will remain unchanged all day because heat, humidity, touching and skin oils can still affect makeup.
Apply the spray according to its instructions and allow it to dry naturally without immediately rubbing or pressing the cheeks.
Use Powder Strategically
Translucent powder can control shine around the blush area, but applying a heavy layer directly over color can reduce vibrancy or change the finish.
Instead, powder can be used selectively on areas that tend to become oily while leaving the most luminous parts of the cheeks less heavily set.
People who prefer a fully matte result can use more powder, while those seeking a dewy fever flush can keep setting lighter and more targeted.
Adjusting Blush Placement for Different Looks
Blush placement can visually change how the face is structured, making the same color appear playful, lifted, dramatic or understated depending on where it is blended.
The fever flush style does not require one exact map because different face shapes and makeup aesthetics benefit from different concentrations of color.
Experimenting with placement on a relaxed face is the easiest way to determine which version feels balanced rather than following one universal diagram.
Central Placement Creates a Softer Flush
Applying color closer to the center of the cheeks creates a more obvious flushed effect and can make the blush feel youthful or playful.
The pigment should still be diffused outward rather than remaining as two concentrated circles that look disconnected from the rest of the complexion.
This placement can be kept subtle for everyday makeup or intensified with deeper colors when a more editorial fever flush effect is desired.
Higher Placement Creates a More Lifted Effect
Blending blush along the upper cheek area toward the temples can create a visually elongated effect compared with color concentrated only on the apples.
The technique works especially well when the blush is integrated softly with bronzer or highlighter instead of appearing as a separate stripe.
A fever flush look can combine central and higher placement by keeping the strongest pigment on the cheek and diffusing the remainder upward.
Common Blush Mistakes to Avoid
One of the most common mistakes is applying too much highly pigmented blush before understanding how strongly the product deposits color.
Another is using placement rules mechanically without checking how the blush actually sits on the individual’s features when the face is relaxed.
Taking time to build, blend and evaluate the color usually produces a more polished result than trying to correct heavy application at the end.
Do Not Choose Formula Based Only on Skin Type
Powder formulas are not exclusively for oily skin, and cream formulas are not exclusively for dry skin because modern products vary widely in texture and finish.
A person with oily skin may enjoy a long-wearing cream, while someone with dry skin may prefer a finely milled powder that does not emphasize texture.
Product performance, base preparation and personal preference are more useful criteria than treating skin type as a strict formula rule.
Do Not Rely on the Wrist for Final Shade Selection
A wrist swatch can show pigment and texture, but the wrist often differs from the face in color, undertone and surrounding makeup.
When possible, testing the product on the cheek provides a more realistic indication of how the shade interacts with foundation and natural complexion.
If cheek testing is not practical, compare swatches in natural light and remember that blending can make highly pigmented shades appear significantly softer.
Removing Blush and Cleansing the Skin

Blush should be removed along with the rest of the complexion makeup at the end of the day using products that effectively dissolve the formulas being worn.
Oil cleansers, cleansing balms, micellar products and other makeup removers can all work depending on makeup resistance and personal skin preference.
The goal is to remove pigment without unnecessary rubbing, particularly when several long-wear complexion products have been layered together.
Use Gentle Pressure During Makeup Removal
Apply the remover according to its instructions and allow enough contact time for the makeup to loosen before repeatedly rubbing the same area.
Long-wear or water-resistant products may require a more effective first cleansing step rather than additional physical pressure on the skin.
After makeup is dissolved, rinse or follow with a compatible facial cleanser when appropriate for the chosen removal method and skincare routine.
- Remove gently: Avoid excessive rubbing or pulling at the cheeks.
- Choose an effective remover: Match the cleansing product to the makeup formula.
- Cleanse thoroughly: Remove remaining makeup and cleanser residue according to product directions.
Finish With a Comfortable Skincare Routine
After cleansing, skincare can be kept simple with products suited to the individual’s skin needs instead of automatically applying many additional treatments.
A moisturizer can help maintain skin comfort after cleansing, particularly when the makeup-removal process or environmental conditions leave the skin feeling dry.
If irritation develops after using a makeup or cleansing product, discontinue the suspected product and adjust the routine rather than continuing to layer cosmetics over irritated skin.
FAQ – Common Questions About Blush Application and Care
Fever flush blush makeup is a style that uses softly diffused cheek color to create an intentionally flushed appearance. The intensity can range from subtle to dramatic.
Use undertone and complexion depth as a starting point, but evaluate the shade on the cheek whenever possible because personal preference and the rest of the makeup also affect the result.
Smiling can help identify the apples of the cheeks, but always check the placement again with your face relaxed because the cheeks move when your expression changes.
Apply color in thin layers, consider layering compatible cream and powder formulas, and use an appropriate setting product when additional wear is needed.
No. Powder, cream and liquid blush can work across different skin types. Formula, base preparation, desired finish and personal preference are more useful considerations.
Use a makeup remover capable of dissolving the products you are wearing, remove the makeup gently and follow with appropriate cleansing and skincare without excessive rubbing.